Building a Desktop E-Ink Display (Pt.1)
I’ve been a huge fan of e-ink displays since I got a Kindle in middle school. They’re slow, calm, and quirky. I like them so much that I currently have a phone with an e-ink display. I was recently inspired by David Zhang to create an e-ink desktop display that I could use for whatever I wanted. I do, however, want mine to be a little more complex than his. He used an ESP32 for his, but I want more compute and flexibility on mine so I will be using a Raspberry Pi Zero W. This will allow me to do whatever I want, without relying on ESPHome.
Supplies
- Raspberry Pi Zero W
- GPIO header pins for Raspberry Pi
- SD card (I used 64gb which is way more than enough)
- 7.5inch E-Ink display HAT (Waveshare)
- Soldering iron
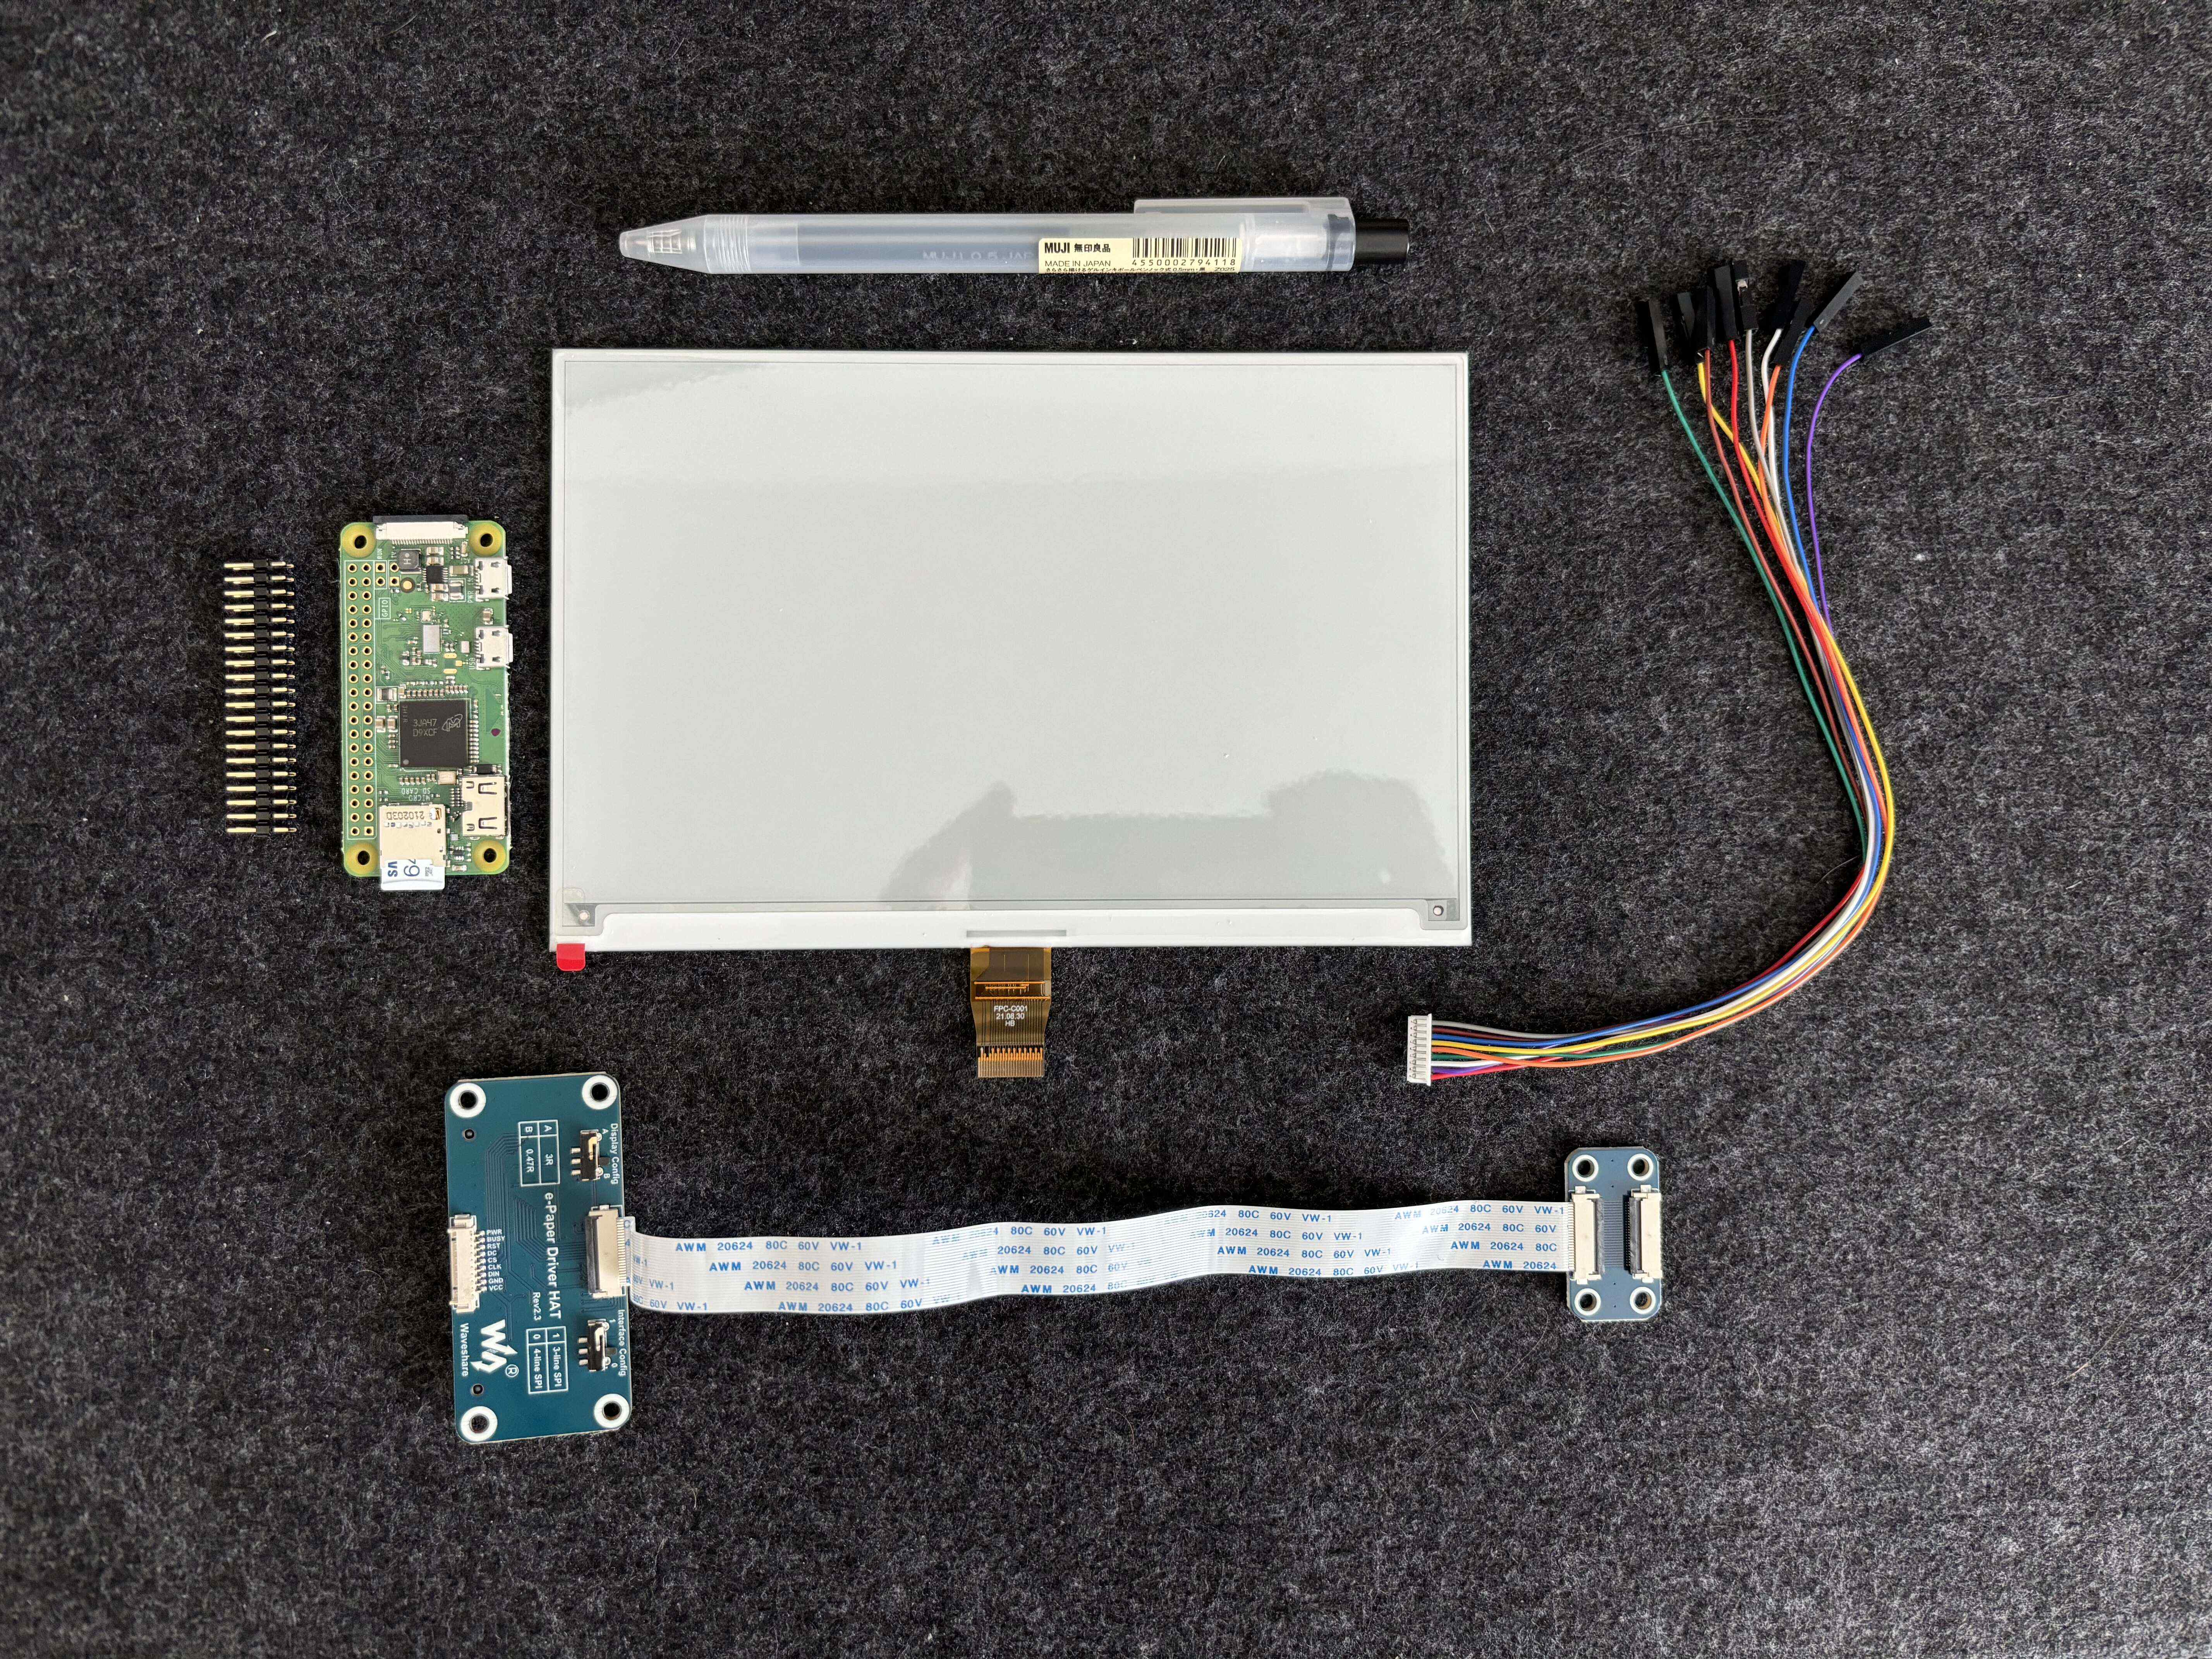 All of the supplies I used
You can get kits for the Raspberry Pi Zero that come with the header pins pre-soldered which would allow you to avoid soldering yourself. Although, I think that soldering is a good skill to have and isn’t too difficult. So if you’re up to it, give it a shot. I do think getting a kit that comes with the header pins, Pi and an SD card is generally a good idea for a first timer. I got one from Cana kit and am very satisfied.
Overall it ended up being approximately $75 since I got a full kit for the Pi.
Waveshare provides a guide to get up and running with their displays and it was fairly helpful, but a bit outdated.
Hardware
There is a ton of documentation on getting the raspberry pi setup so I won’t dig into that. Basically we just need the ability to access the terminal of our pi (I do this through ssh).
To get the display connected we need to first solder the header pins to the pi. This was pretty straightforward and took about 15 minutes.
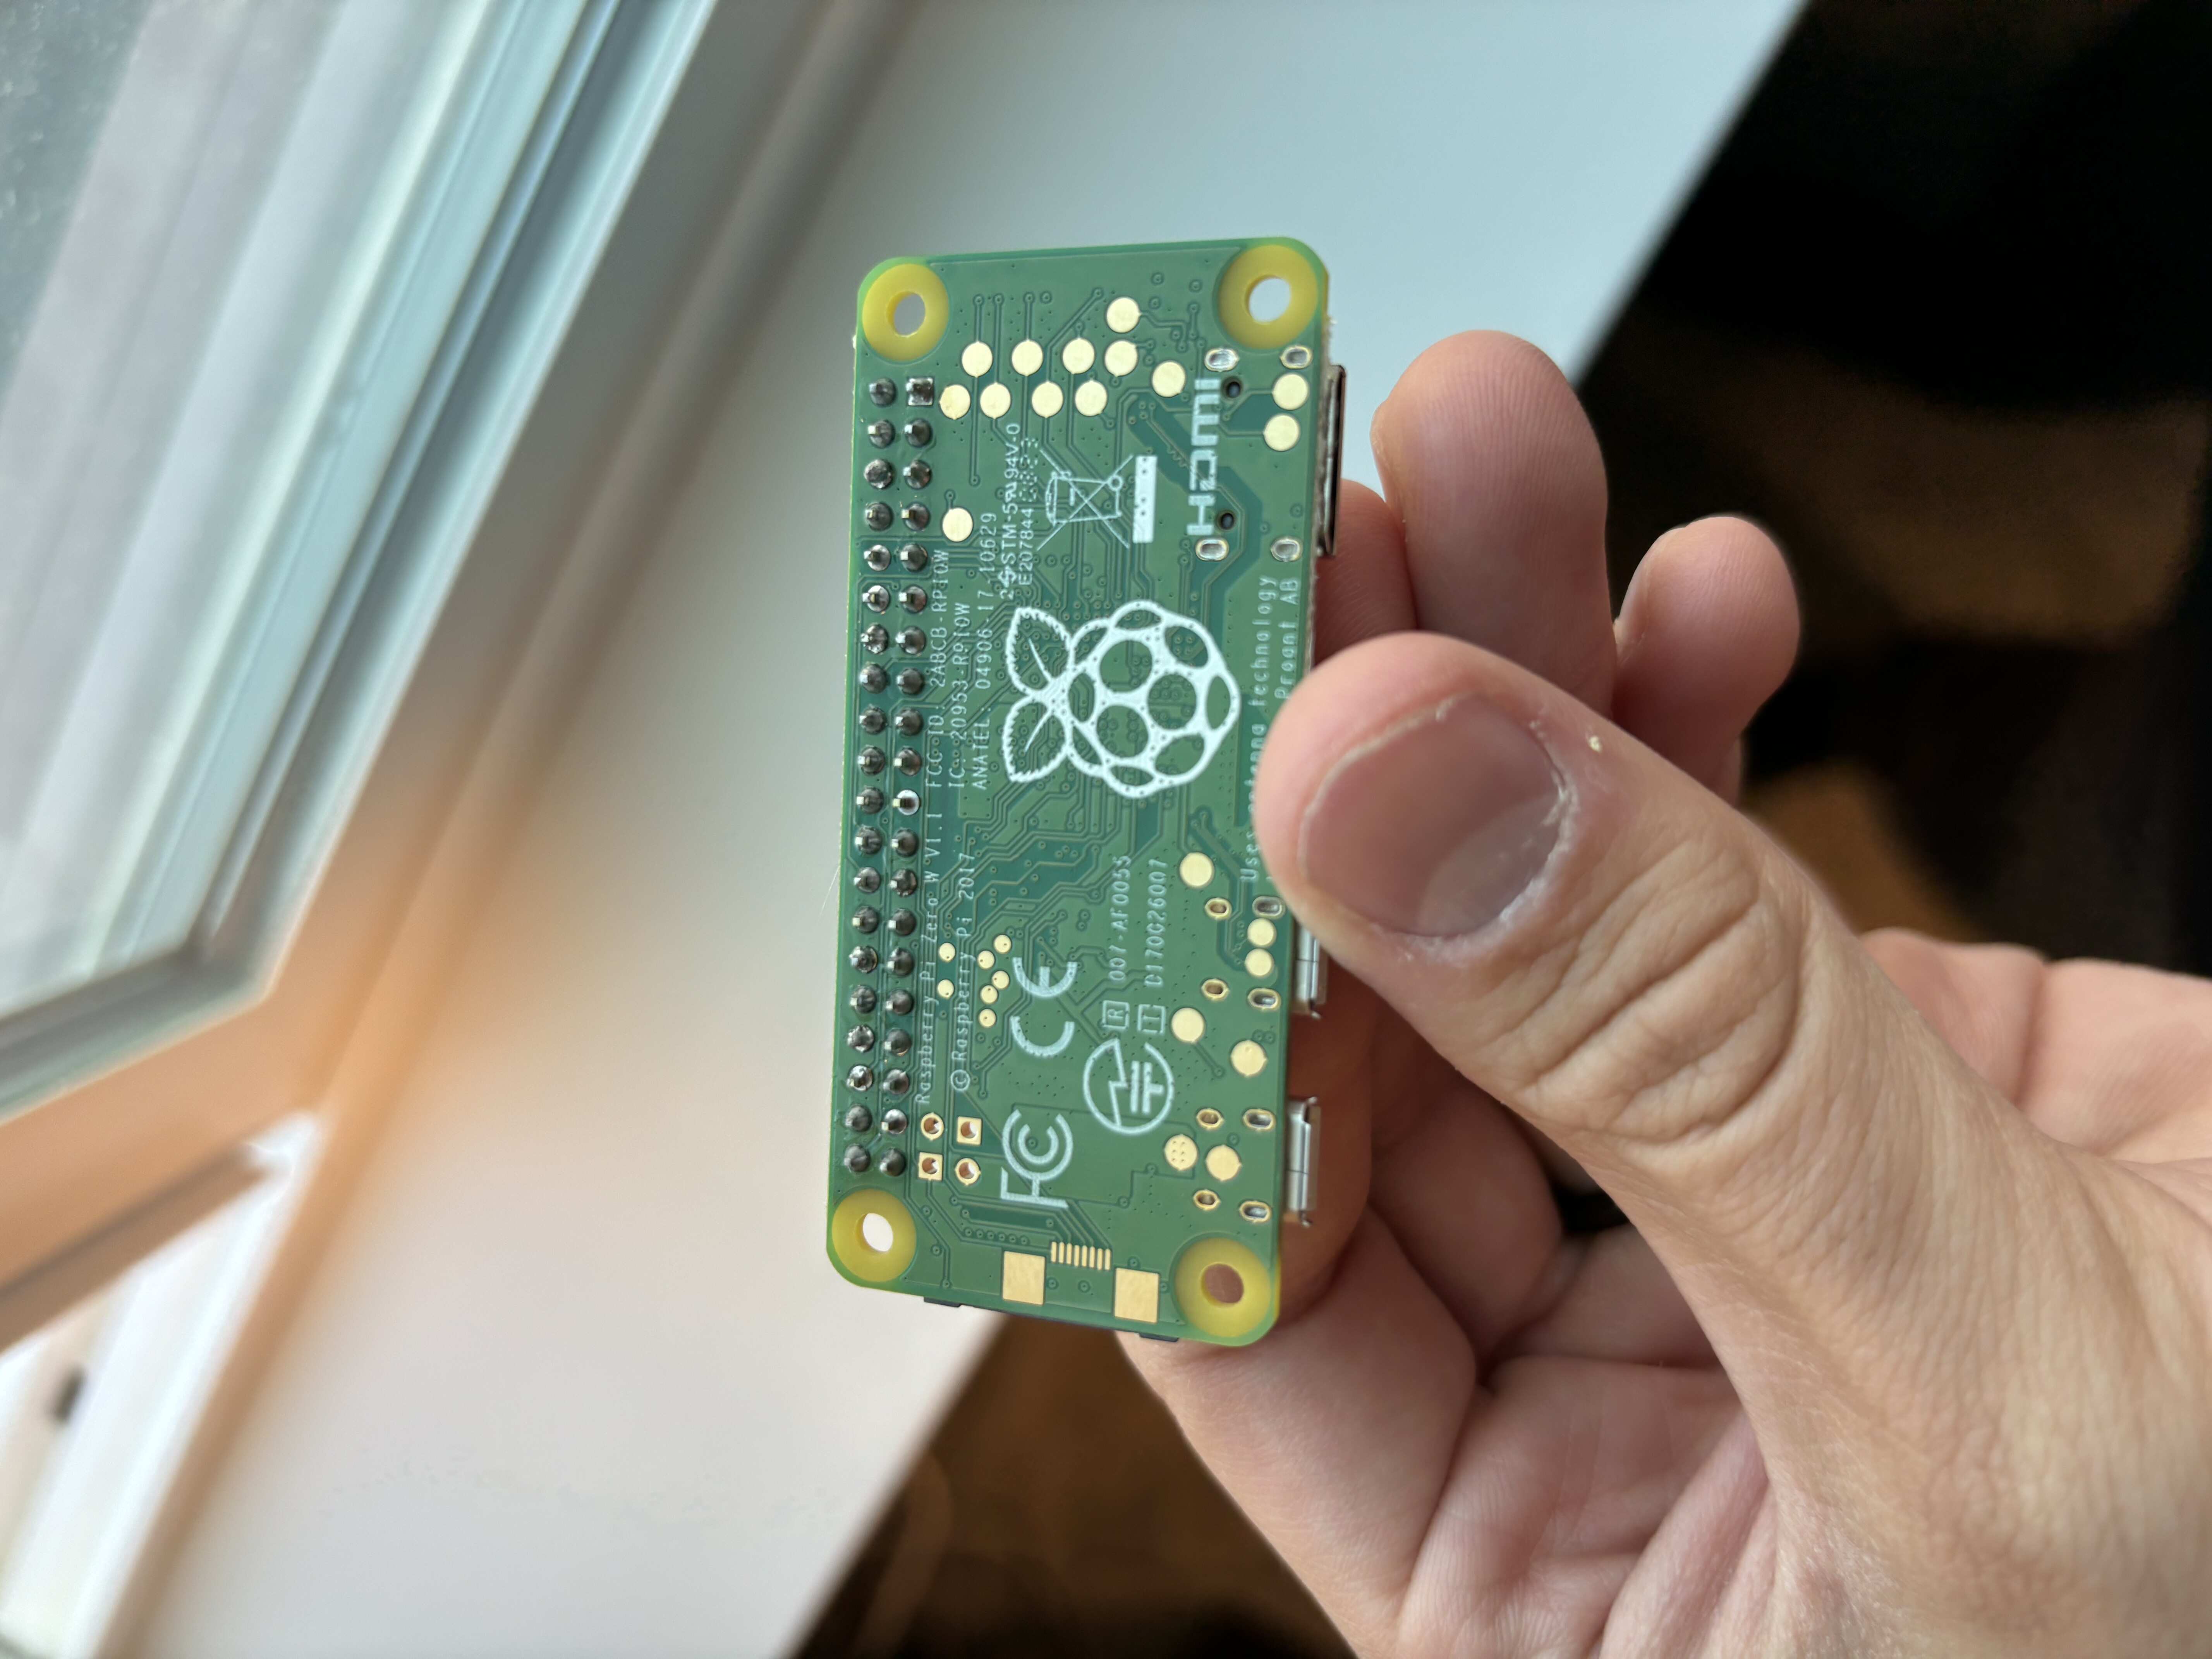 The finished solder job
Next, we connect the ribbon cable to the display (making sure not to bend it) and slide the HAT onto the pi’s pins.
Software
To get a working demo there are a few steps we need to take to configure our pi. The Waveshare display communicates using SPI. To enable SPI on the pi we can use raspi-config
sudo raspi-config nonint do_spi 0
sudo reboot # reboot our pi to allow the change to take effect
We’ll need a few dependencies to get up and running with the python demo. Most people recommend installing python dependencies in a virtual-environment to keep dependencies separate for each project. I think this is overkill for what I am doing as this will be the only thing i’m running on my pi. I will just be installing the packages system-wide for simplicity.
sudo apt-get update
sudo apt-get install python3-pil
sudo apt-get install python3-RPi.GPIO
sudo apt-get install python3-spidev
sudo apt-get install python3-gpiozero
With these dependencies installed, we should be ready to interact with our e-ink display using python!
Waveshare demo
We have everything set up to run the demo, we just need to clone the repo.
git clone https://github.com/waveshare/e-Paper.git
cd e-Paper/RaspberryPi_JetsonNano/python/examples/
To run the demo we just need to find the test file for our specific screen, they are labeled by screen size.
python3 epd_7in5_V2_test.py
This should hopefully give you console output that looks something like this:
INFO:root:epd7in5_V2 Demo
INFO:root:init and Clear
DEBUG:waveshare_epd.epd7in5_V2:e-Paper busy
DEBUG:waveshare_epd.epd7in5_V2:e-Paper busy release
DEBUG:waveshare_epd.epd7in5_V2:e-Paper busy
DEBUG:waveshare_epd.epd7in5_V2:e-Paper busy release
INFO:root:read bmp file
DEBUG:waveshare_epd.epd7in5_V2:e-Paper busy
DEBUG:waveshare_epd.epd7in5_V2:e-Paper busy release
INFO:root:read bmp file on window
DEBUG:waveshare_epd.epd7in5_V2:e-Paper busy
DEBUG:waveshare_epd.epd7in5_V2:e-Paper busy release
INFO:root:Drawing on the Horizontal image...
DEBUG:waveshare_epd.epd7in5_V2:e-Paper busy
DEBUG:waveshare_epd.epd7in5_V2:e-Paper busy release
DEBUG:waveshare_epd.epd7in5_V2:e-Paper busy
DEBUG:waveshare_epd.epd7in5_V2:e-Paper busy release
INFO:root:5.show time
DEBUG:waveshare_epd.epd7in5_V2:e-Paper busy
DEBUG:waveshare_epd.epd7in5_V2:e-Paper busy release
DEBUG:waveshare_epd.epd7in5_V2:e-Paper busy
DEBUG:waveshare_epd.epd7in5_V2:e-Paper busy release
DEBUG:waveshare_epd.epd7in5_V2:e-Paper busy
DEBUG:waveshare_epd.epd7in5_V2:e-Paper busy release
DEBUG:waveshare_epd.epd7in5_V2:e-Paper busy
DEBUG:waveshare_epd.epd7in5_V2:e-Paper busy release
DEBUG:waveshare_epd.epd7in5_V2:e-Paper busy
DEBUG:waveshare_epd.epd7in5_V2:e-Paper busy release
DEBUG:waveshare_epd.epd7in5_V2:e-Paper busy
DEBUG:waveshare_epd.epd7in5_V2:e-Paper busy release
DEBUG:waveshare_epd.epd7in5_V2:e-Paper busy
DEBUG:waveshare_epd.epd7in5_V2:e-Paper busy release
DEBUG:waveshare_epd.epd7in5_V2:e-Paper busy
DEBUG:waveshare_epd.epd7in5_V2:e-Paper busy release
DEBUG:waveshare_epd.epd7in5_V2:e-Paper busy
DEBUG:waveshare_epd.epd7in5_V2:e-Paper busy release
DEBUG:waveshare_epd.epd7in5_V2:e-Paper busy
DEBUG:waveshare_epd.epd7in5_V2:e-Paper busy release
DEBUG:waveshare_epd.epd7in5_V2:e-Paper busy
DEBUG:waveshare_epd.epd7in5_V2:e-Paper busy release
INFO:root:Clear...
DEBUG:waveshare_epd.epd7in5_V2:e-Paper busy
DEBUG:waveshare_epd.epd7in5_V2:e-Paper busy release
DEBUG:waveshare_epd.epd7in5_V2:e-Paper busy
DEBUG:waveshare_epd.epd7in5_V2:e-Paper busy release
INFO:root:Goto Sleep...
DEBUG:waveshare_epd.epd7in5_V2:e-Paper busy
DEBUG:waveshare_epd.epd7in5_V2:e-Paper busy release
DEBUG:waveshare_epd.epdconfig:spi end
DEBUG:waveshare_epd.epdconfig:close 5V, Module enters 0 power consumption ...
You should see the screen refresh a few times, paint and image, then paint some text. Success! If you get errors, make sure to check that all of the dependencies are installed correctly and the display is connected.
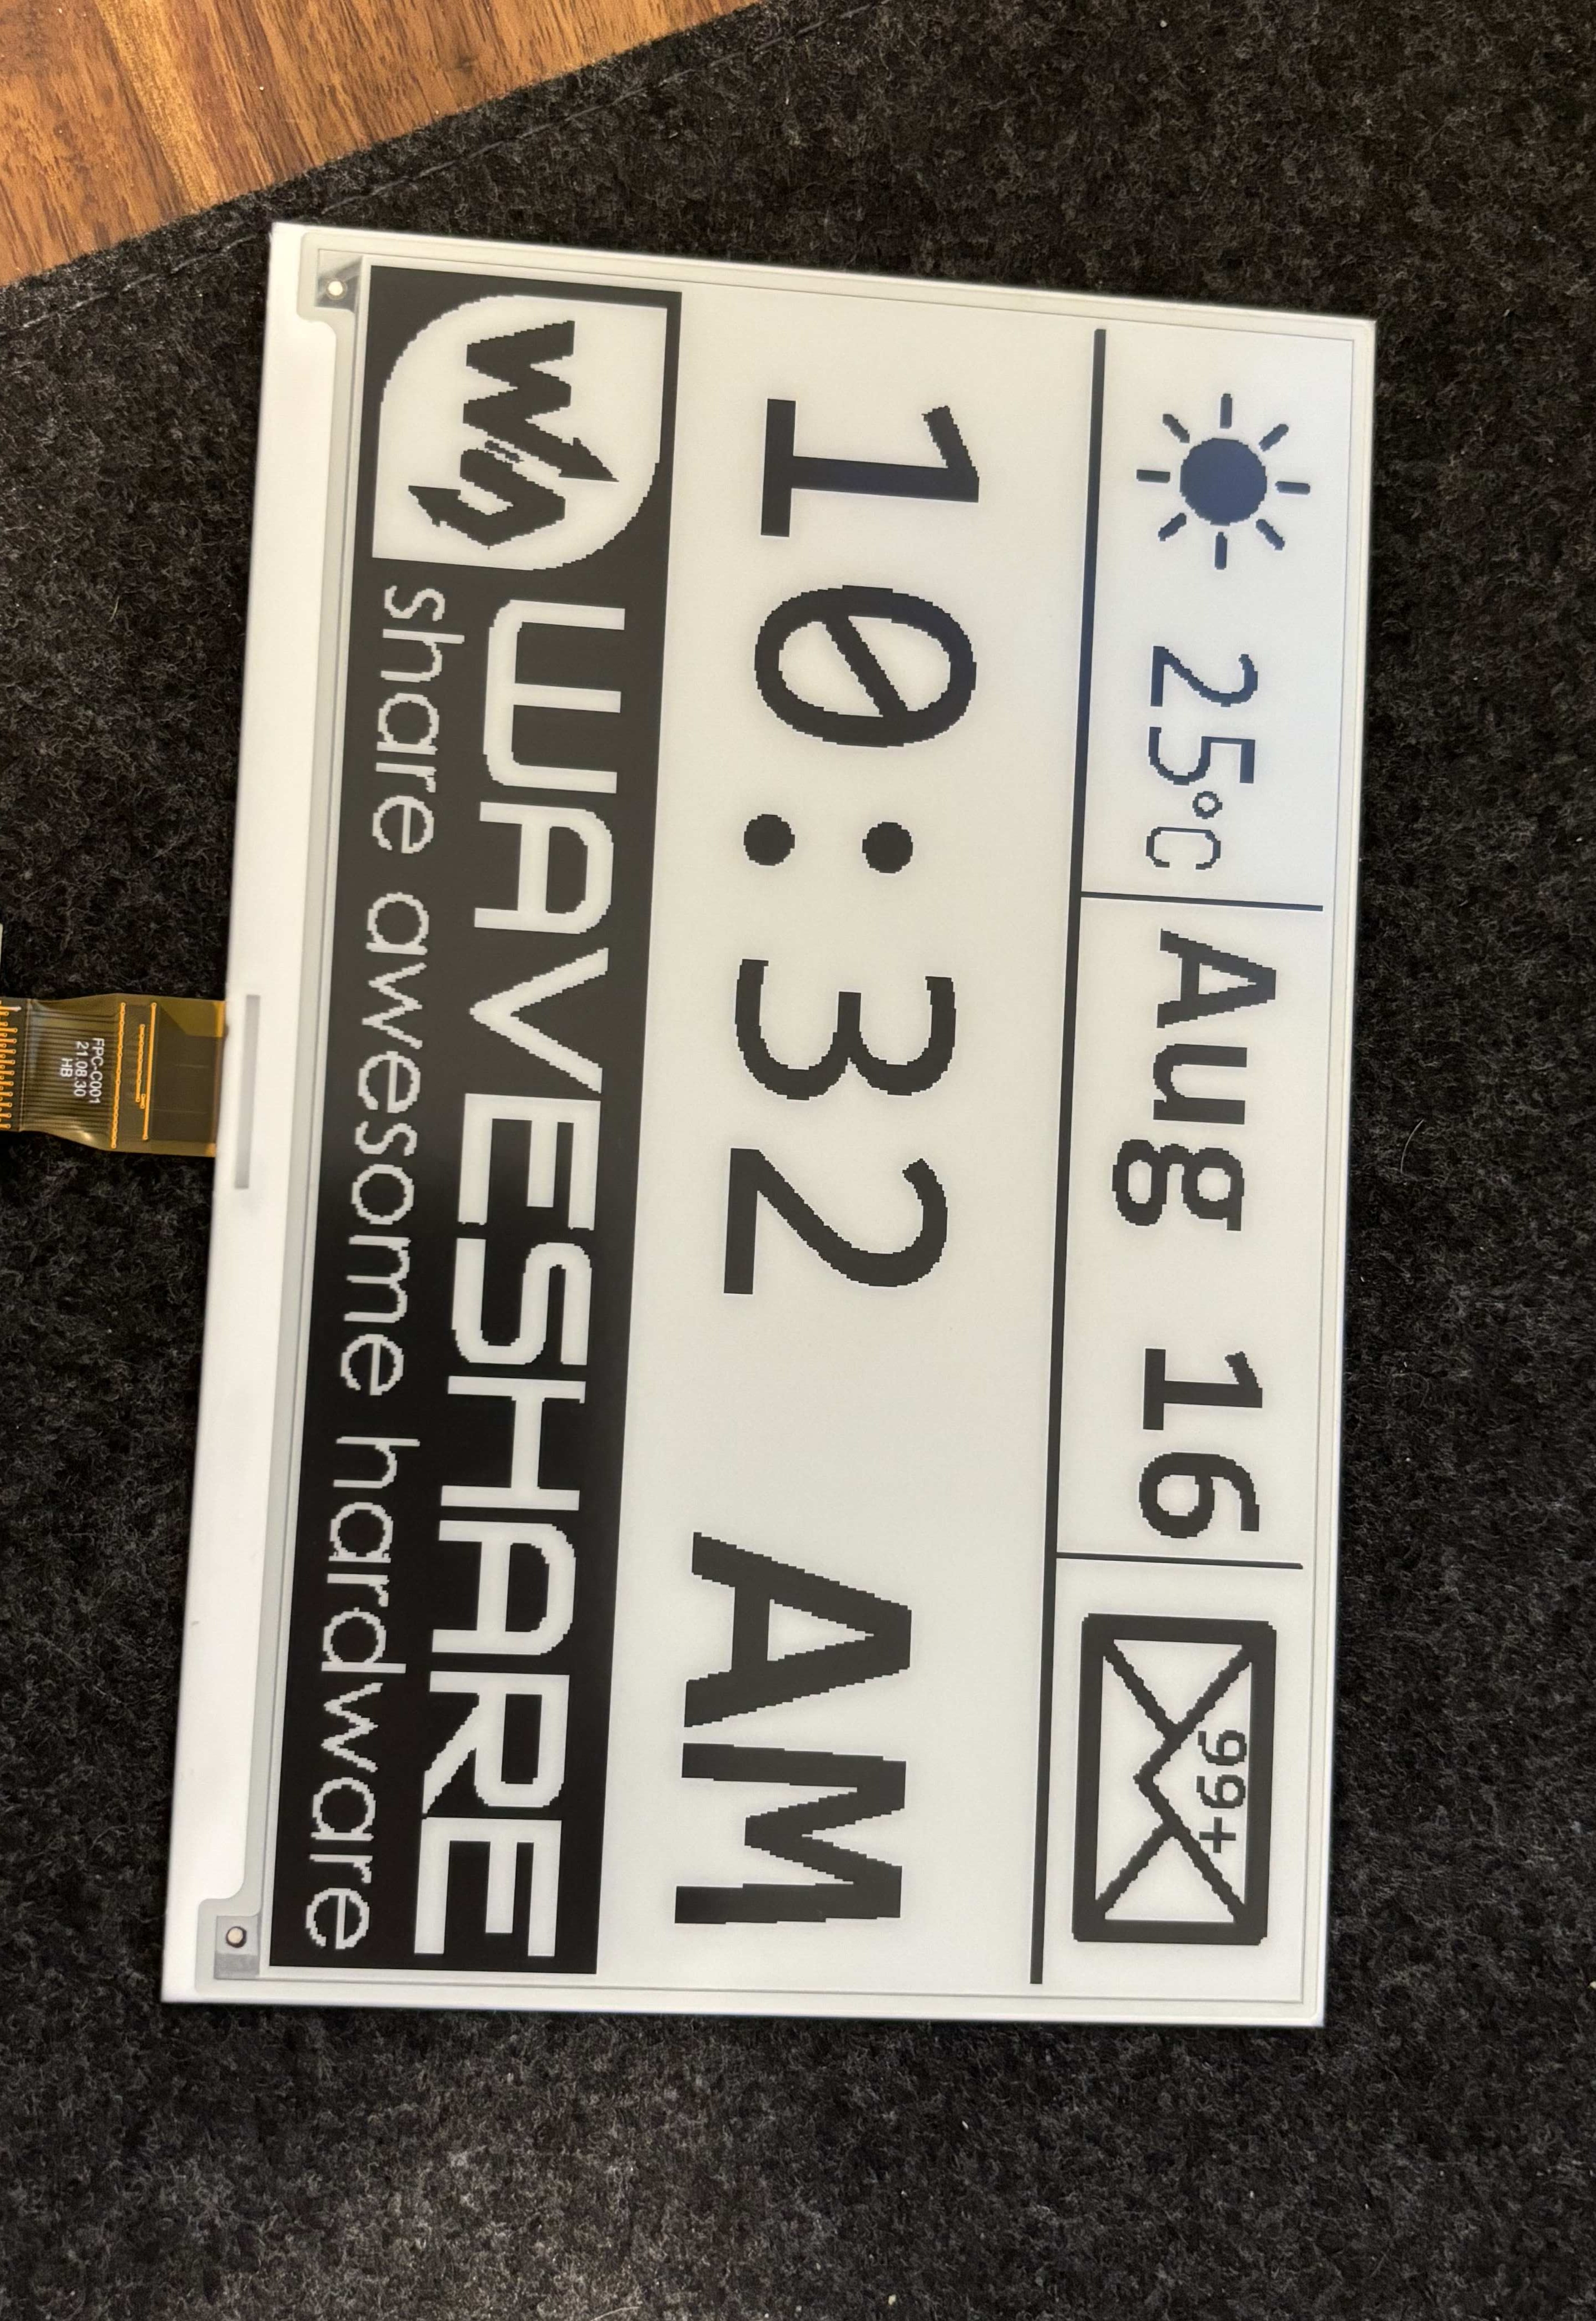 The waveshare demo image
Displaying our own UI
Waveshare is kind enough to provide the driver code that allows us to interface with the display without too much trouble. Basically all we have to do is copy a couple of files from their demo repo into our new project.
cd ~
mkdir hello_world
cp e-paper/RaspberryPi_JetsonNano/python/lib/waveshare_epd/epdconfig.py hello_world/
cp e-paper/RaspberryPi_JetsonNano/python/lib/waveshare_epd/epd7in5_V2.py hello_world/ # choose the driver file that matches the display you have
cd hello_world
mv epd7in5_V2.py driver.py # rename driver for import simplicity
We copied the driver for our specific display and their base config for the raspberry pi. This code will allow us to write to the screen without worrying about the specifics of SPI and the pins our display is connected to on the pi.
We will also want a font to display text, I chose Pixelify Sans. Since our display is exclusively black and white (no greyscale) pixel fonts render the best. But you can pretty much use whatever font you want. I just put the file into the hello_world directory. This can be done easily over scp.
scp -r ./PixelifySans.ttf [email protected]:/home/spencerfairchild/hello_world/
Next we will make a Display class that will contain the code to actually render images and text on our screen. Mine looks something like this:
# display.py

import PIL
from PIL import Image
from .driver import EPD

class Display:
    def __init__(self):
        self._epaper = EPD()
        self.width = self._epaper.width
        self.height = self._epaper.height

    def render(self, image: PIL.Image) -> None:
        epaper = self._epaper

        epaper.init()
        epaper.display(epaper.getbuffer(image))
        epaper.sleep()
        print('Done printing')

    def clear(self):
        epaper = self._epaper
        epaper.init()

        white = Image.new('1', (self.height, self.width), 'white')
        black = Image.new('1', (self.height, self.width), 'black')

        epaper.display(epaper.getbuffer(black))
        epaper.display(epaper.getbuffer(white)),
        epaper.sleep()
        print('Cleared display')
This class is pretty simple, we expose functions to render a PIL Image to the screen and to clear the screen (which we should do if we aren’t going to be using the screen for an extended period of time).
All that’s left is to display whatever we want! Here is my main file.
# main.py

from display import Display

from PIL import Image, ImageDraw, ImageFont
import os
import time

font64 = ImageFont.truetype(os.path.join('.', 'PixelifySans.ttf'), 64)

display = Display()

display.clear()

image = Image.new('1', (display.height, display.width), 127)
draw = ImageDraw.Draw(image)
draw.text((10, 100), 'Hello world', font = font64, fill = 0)

display.render(image)

time.sleep(10)

display.clear()

print("Woohoo!")
This should print the text “Hello world” to the screen when you run python3 main.py. Nice!
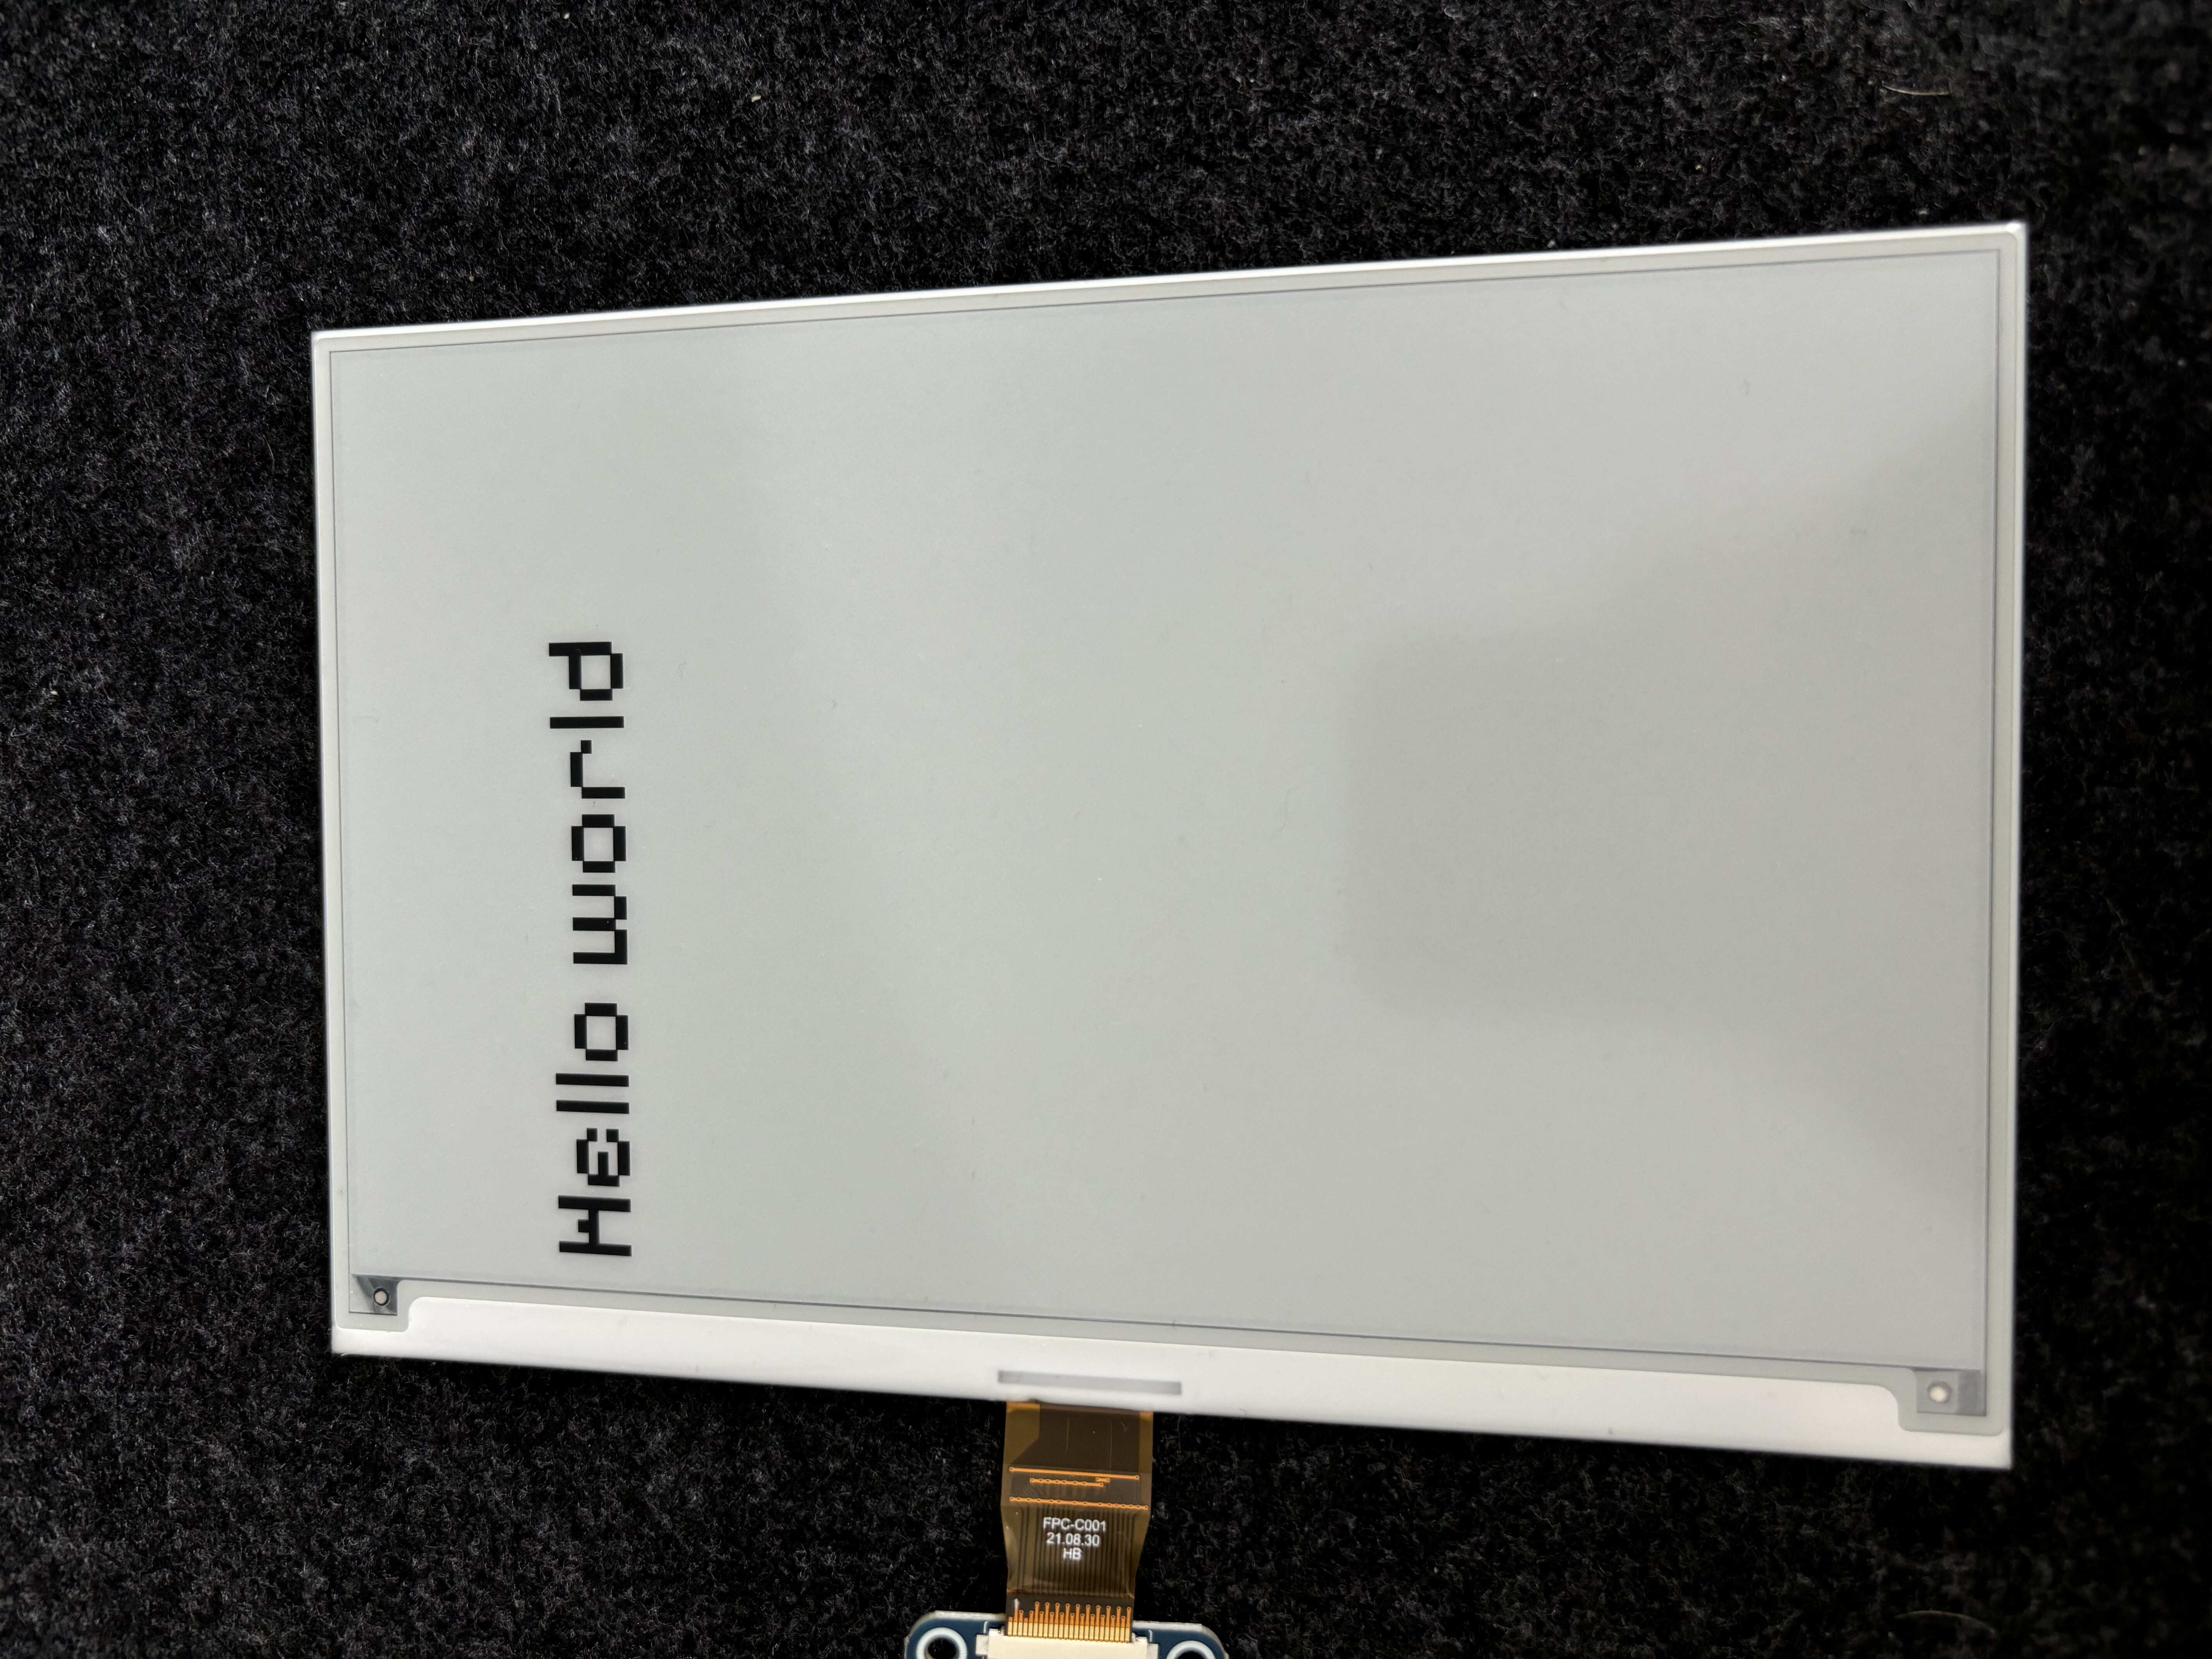 Our hello world program output
Displaying images
We can also display images. We can only display images using black and white pixels however, so keep that in mind when choosing one. Let’s copy one over using scp.
Side note:
If you are trying to display a png, make sure your background is not transparent. Transparency will be displayed as black on a BW display as transparent is mapped to 1 not 0 in a bitmap of depth 1.
scp -r ./space.png [email protected]:/home/spencerfairchild/hello_world/
Actually displaying the image is as simple as creating a background canvas for it, loading it into memory and then pasting it onto the canvas. My update main.py looks like this:
# main.py

from display import Display

from PIL import Image, ImageDraw, ImageFont
import os
import time

font24 = ImageFont.truetype(os.path.join('.', 'PixelifySans.ttf'), 24)

display = Display()

display.clear()

image = Image.new('1', (display.height, display.width), 127)
draw = ImageDraw.Draw(image)
draw.text((10, 68), 'Hello world', font = font24, fill = 0)

display.render(image)

time.sleep(10)

# Create bg
image = Image.new('1', (display.height, display.width), 127)
# Load image
png = Image.open(os.path.join('./stars.png'))

# Resize image
width = 400
height = 800
if width:
    initial_width = png.width
    wpercent = width / float(png.width)
    hsize = int((float(png.height) * float(wpercent)))
    png = png.resize((width, hsize), Image.LANCZOS)

if height:
    initial_height = png.height
    hpercent = height / float(png.height)
    wsize = int(float(png.width) * float(hpercent))
    png = png.resize((wsize, height), Image.LANCZOS)

image.paste(png)

display.render(image)

time.sleep(10)

display.clear()
That should display an image on the screen for us!
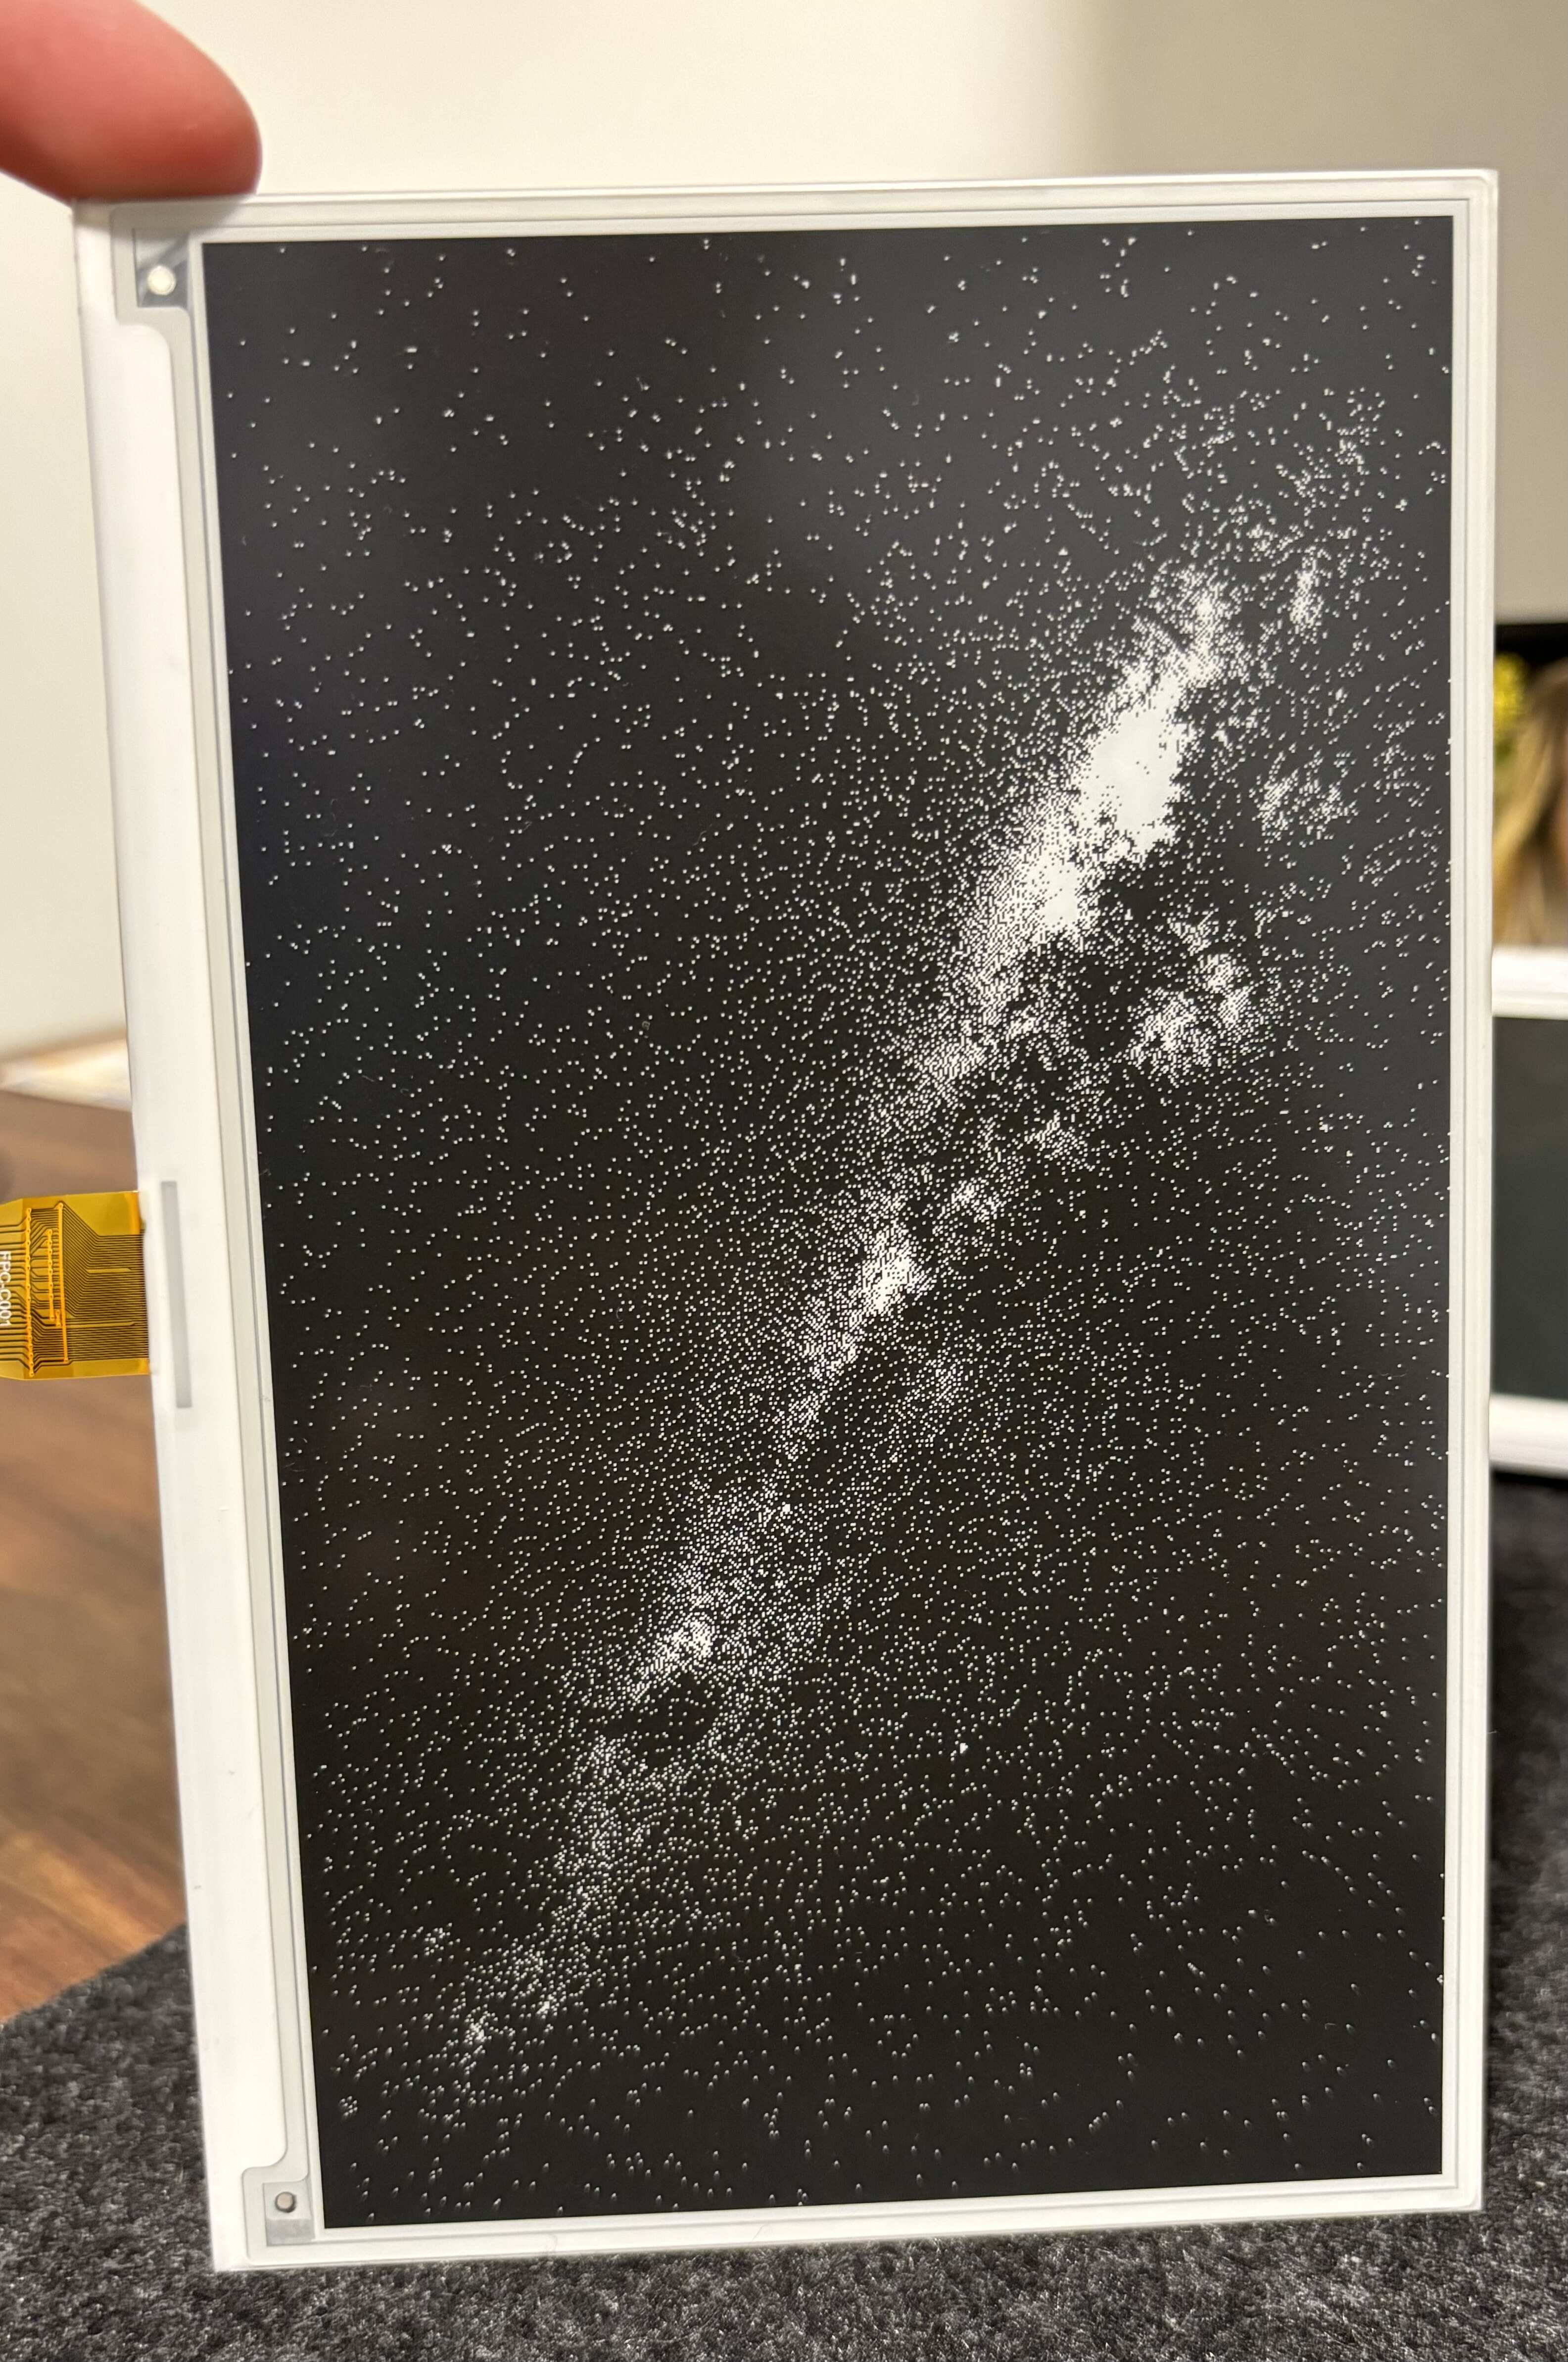 Nice and pixelated view of the night sky
Next steps
Next I am going to start actually building out some sort of dashboard for the display. Things I will experiment with are:
- Partial refresh of the e-ink screen to see if I can make a clock
- More complex layouts
- Shading using stippling